Basic UV Mapping
UV Mapping
Planar Mapping
Saving UV Maps
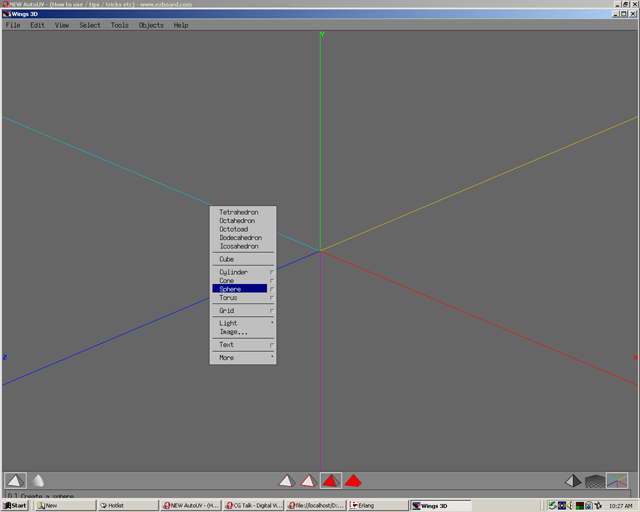
Step 01
Use the right click of the mouse button to select a sphere
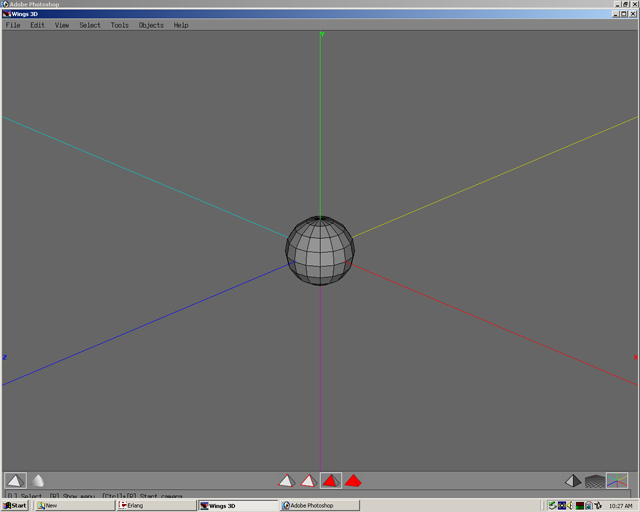
Step 02
The sphere can be smoothed once if desired
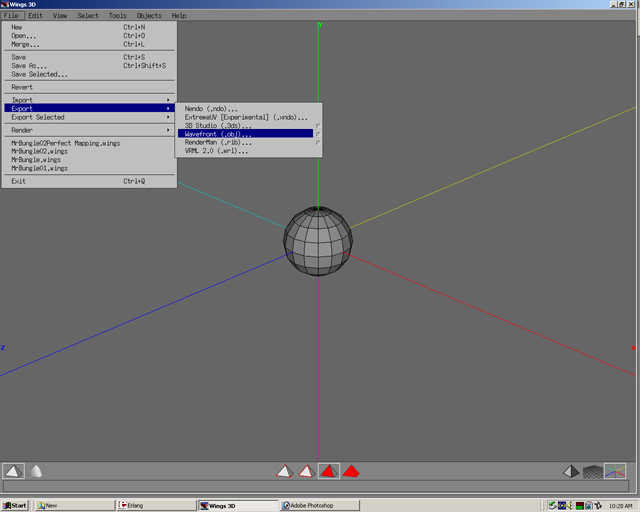
Step 03
Select file,then export Wavefront(obj)
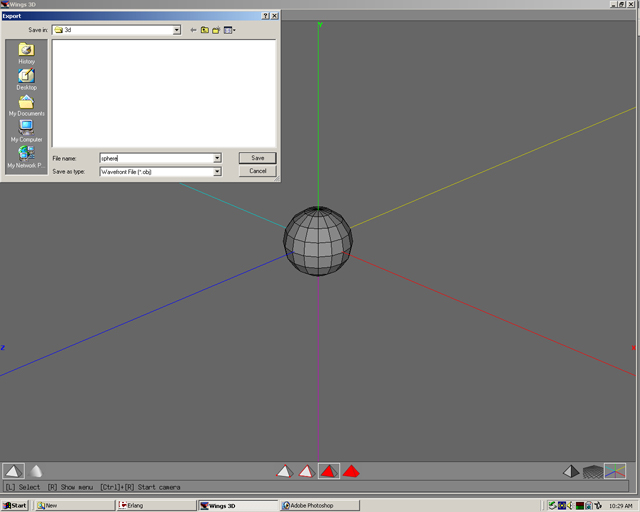
Step 04
Save as sphere in the 3d directory.
Step 05
Open UVMapper. Select file, then open.
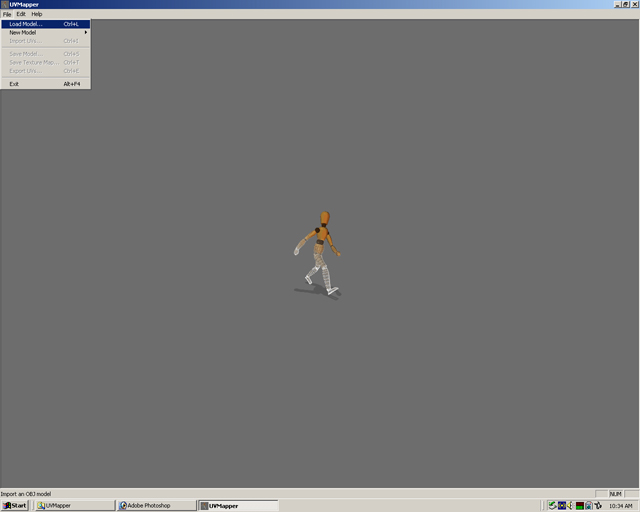
Step 06
Select sphere.obj, then open. A UV Map will be made for the model. This will give it coordinates for textures to be put on the model. Think of it as a map of the surface. Once the map of this surface has been made, the computer knows where to put a picture. The texture is like wrapping paper to wrap around a present. The UV map tells the computer where to put the "paper".
Step 07
The model has no mapping coordinates. To give the model mapping coordinates select edit, New UV Map, then Planar.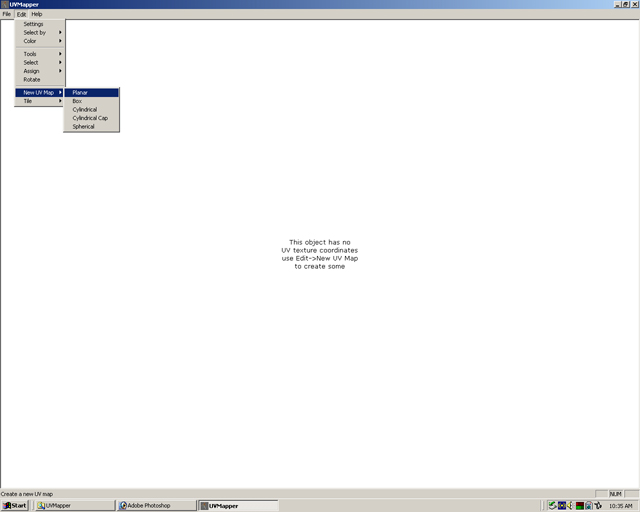
Step 08
Select ok. This will give the model planar mapping aligned to the z axis.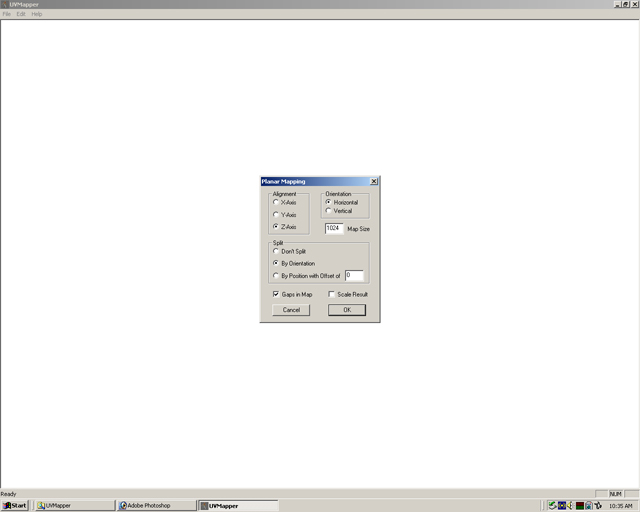
Step 09
Planar mapping is like a projector projecting from the front and back. It splits the maps into two projections.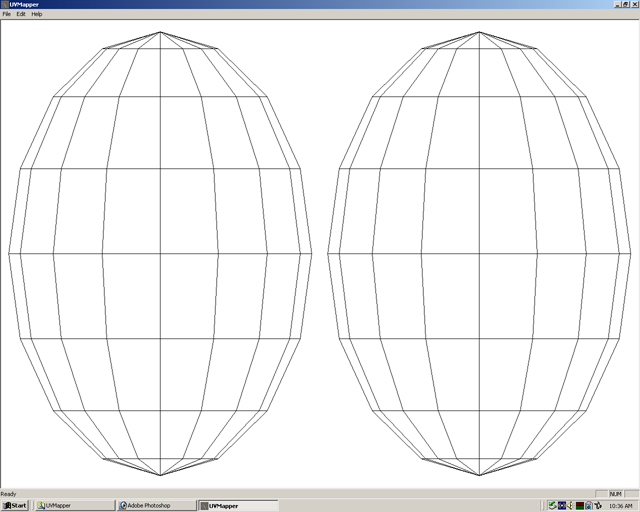
Step 10
Sphere primitives offer many varieties of mapping without having overlapping of the polygons that some models can have. If a map chosen has overlapping then the map will have to be modified in a different program.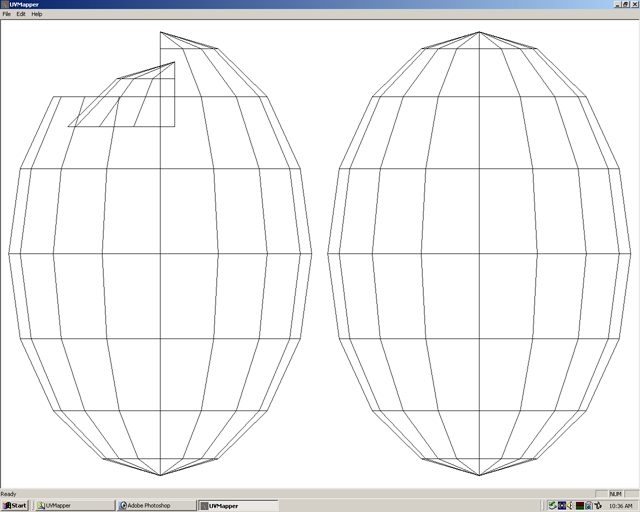
Step 11
Find a map that has no overlapping and looks most like the model sculpted. Choose any map. The special property of a sphere is that any type of mapping will work.
Step 12
Once satisfied select file, then save model.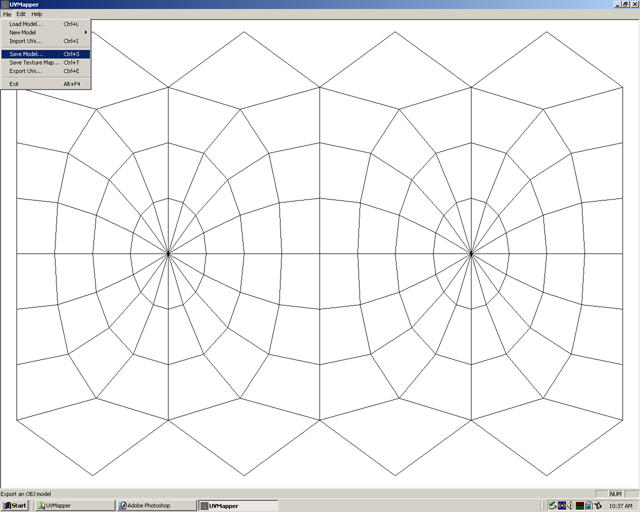
Step 13
Save file as sphereuv—(mapping used).obj. The example would be saved as sphereuv—sphere.obj.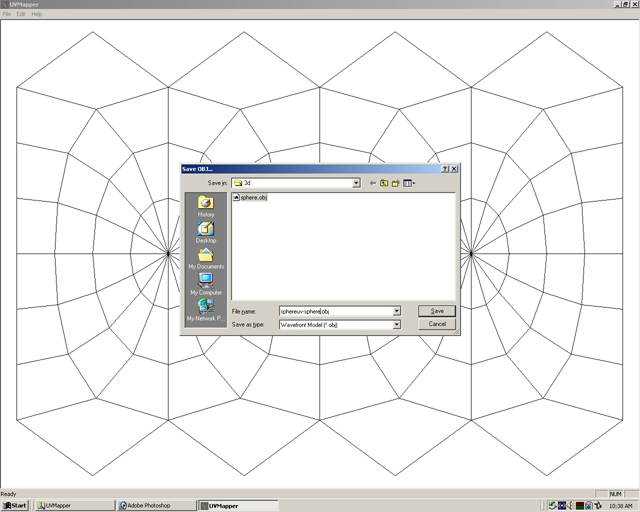
Step 14
Open Unwrap(LithUnwrap). Select file, model, then open.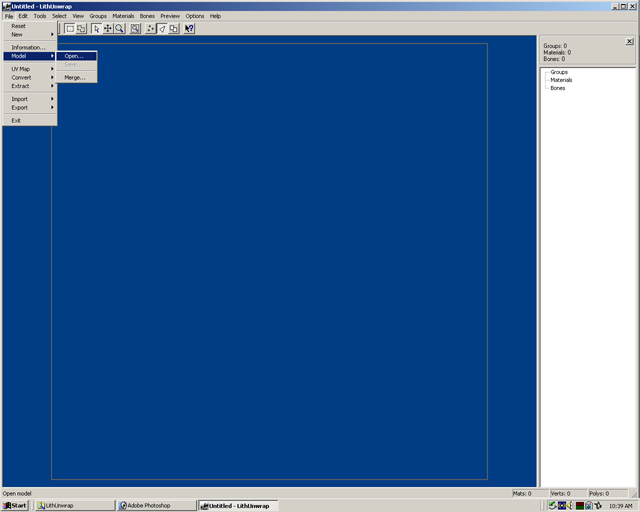
Step 15
Select sphereuv—sphere.obj, then open.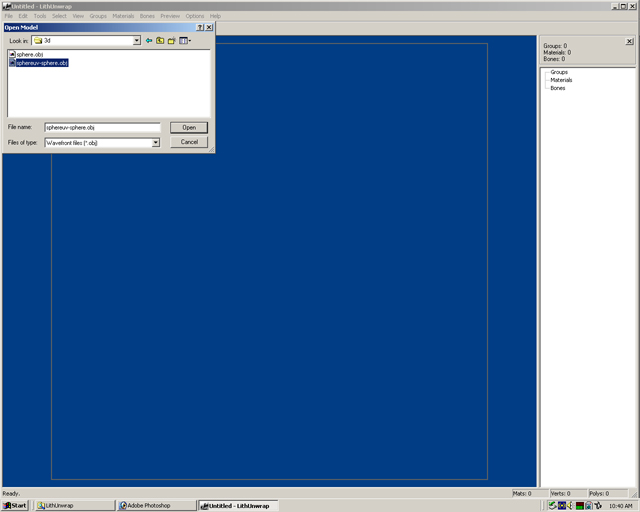
Step 16
Notice that the map is shown again.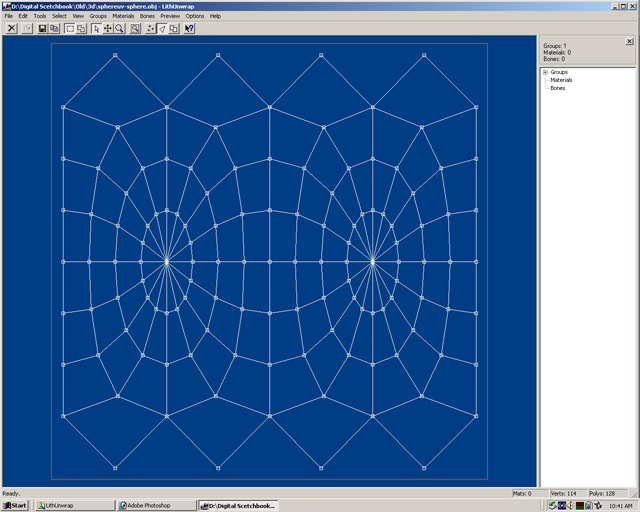
Step 17
To save the Uvmap as a bmp file. Select file, UVmap, then save. Save as sphere.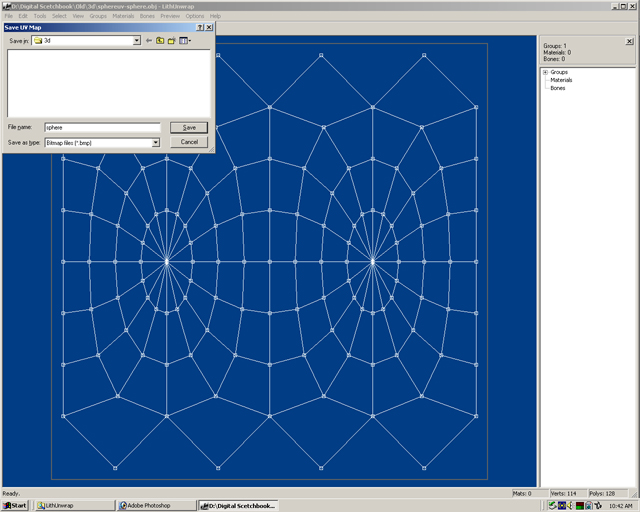
Step 18
When the Save UV Map dialog box apprears select Black and White. If the bitmap dimensions are not 1024 width x 1024 height, change the values to those numbers.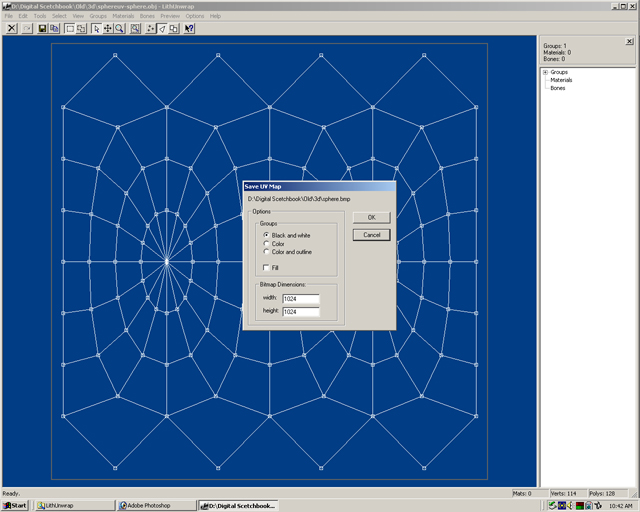
Click to go back - Building 3D Body
Click to move on - Painting Textures